Monday, May 24, 2010

Butter and Whip Cream

Science experiment:
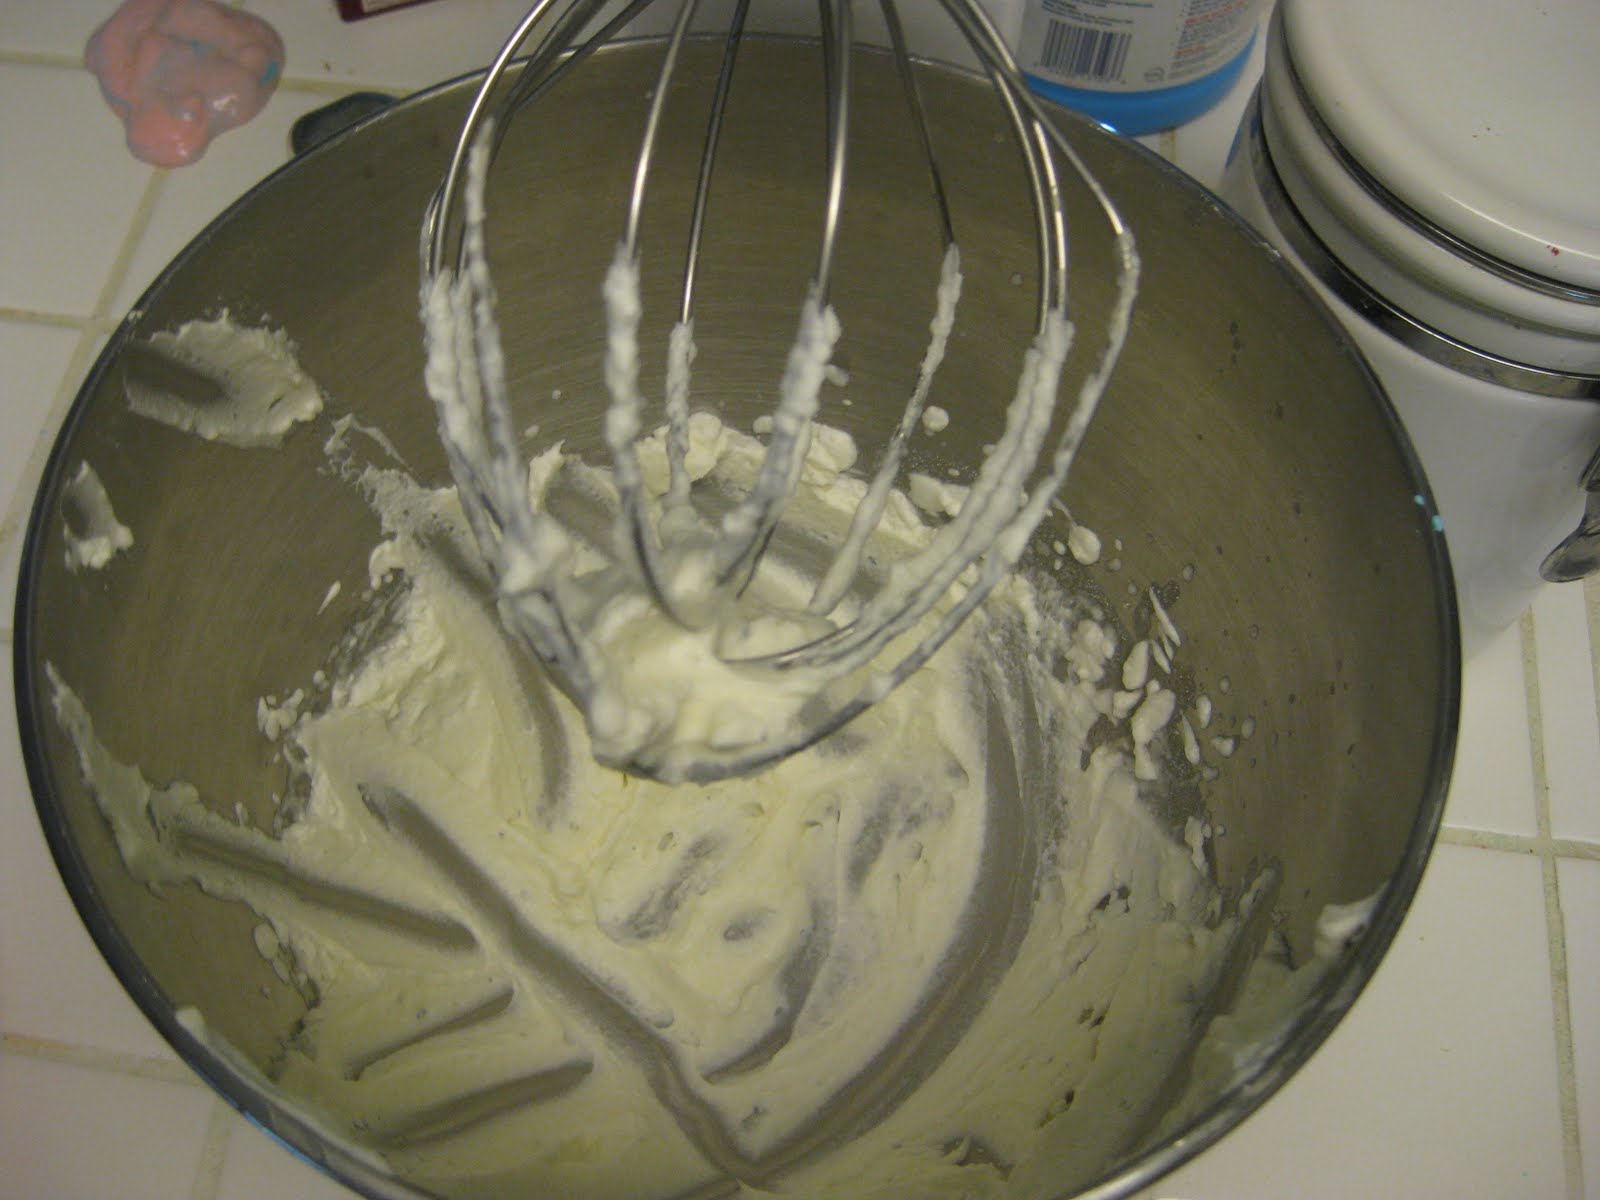
We started with 2 pints of heavy whipping cream. We put one in the kitchen aid and mixed air into it. It got HUGE, fluffy and after we added a bit of sugar and vanilla it tasted delish!
We put one pint in a jar. We put the lid on tight so that air could not get in. We shook it for a good 30 min. or so. We took turns, but mom did most of the shakin'. And all that shakin' made us want to shake our booties and dance too. Fun stuff. And of course all that shakin' made us some yummy butter too. We added a little salt and shook it some more.
I told you both about the "air" difference. I think it was neat for us to all see the difference but most of all it was yummy.
Then we got to enjoy some cake with whip cream and some toast with butter.

Monday, May 17, 2010

Colors

Supplies: Mason jars, water, food coloring.
M is learning about mixing primary colors to get secondary colors. C is learning her colors and getting more pouring practice.
We got several jars of water and I added drops of food coloring (otherwise the kids fight over the food coloring). We name the color, one of the girls gets a chance to stir. We name it again.
If making a secondary color: I gave each of the girls a small creamer (something with a lip to pour out of) with colored water. For example: M had yellow water. C had blue water. They poured it into an empty jar and got green.


Then we tried it by simply adding food coloring to our colored water. We got orange:

Once each jar was finished the girls were each given half in their creamers to pour into ice cube trays. We freeze them and then they play with them in the bath. It colors the water slightly, but not to worry, no dyed skin (unless you add vinegar or rubbing alcohol to set the color). And this bathtime fun helps to teach C the colors too.

Saturday, May 15, 2010

Grasping

Okay I hesitate even posting this because it's rediculously simple. But when I became a new mom and was home with my sweet little one all day I wanted desperately to find fun things I could do with the little munchkin. I found a great book from Gymboree and then later was given this Montessori book which has been extremely helpful to me. I am no expert, but I must say that my opinion with babies is that just getting down on the floor and playing with them in any way, smiling at them, talking to them and reading to them are the best things to do with a baby. (Any way to show that baby he is loved and is in a loving environment!)
.
So I'll post a few things I do with our little guy in hopes that it will help others and maybe my own girls someday as they raise their children :)
.
Grasping: scrapbook ribbon tied on to a kitchen spatula. A wooden spoon, dowel, etc. would work great too.
.

This was fun for O to look at and to grab at. But mostly we just had fun playing together.
And we can't get enough tummy time. Look at those muscles :) I just love it when I find the time (and take the time) to get down on the floor and play with my baby. And man is he fun!

Monday, May 3, 2010

Painting Jelly-Fish


Supplies: jelly-roll pan, tempura paint (or any other child-safe paint), marbles, cardboard or paper, streamer paper.
We added a bit of paint in the bottom of plastic cups and then rolled marbles inside and dumped them out on our cardboard. Since this is inside the jelly-roll pan the marble is contained.
And then if you want you can squish your fingers all around it and come up with some beautiful colors
M glued on the streamers (I cut strips out of tissue paper).

Saturday, May 1, 2010

Aquarium


Our Aquarium Wall

We have a season pass to our local aquarium. Since you kids are all still under age 3, you're free. You guys all LOVE the aquarium and talk about it often. So this past month we focused our crafts on the aquarium. It's been a lot of fun.


The whole idea came from Filth Wizadry. She also provided the tiny fish that we colored and cut out.

Crab at No Times for Flashcards.

For the octopus, I just cut out a cardboard octopus (making sure to have 8 legs to count), covered it in tin-foil and let the girls use red permanant markers.

The shark- I googled shark images, drew one and then we painted it. The key is to only paint one color at a time and I told the girls where to paint the grey. Once that was done I brought out white paint and let them paint the white part. Then I cut it out.

Turtle-did same as shark.

The blue background is a plastic table cloth.